Showing posts with label dyeing. Show all posts

Sunday, 13 November 2022

Colour titrations

When my gal was at college doing chemistry, one of the bits of lab work she really enjoyed was titrations "the process of determining the quantity of a substance A by adding measured increments of substance B". It appealed to her sense of order and her enjoyment of methodical process, a thing she has inherited from me (though you might not think so looking at our housekeeping skills!!)

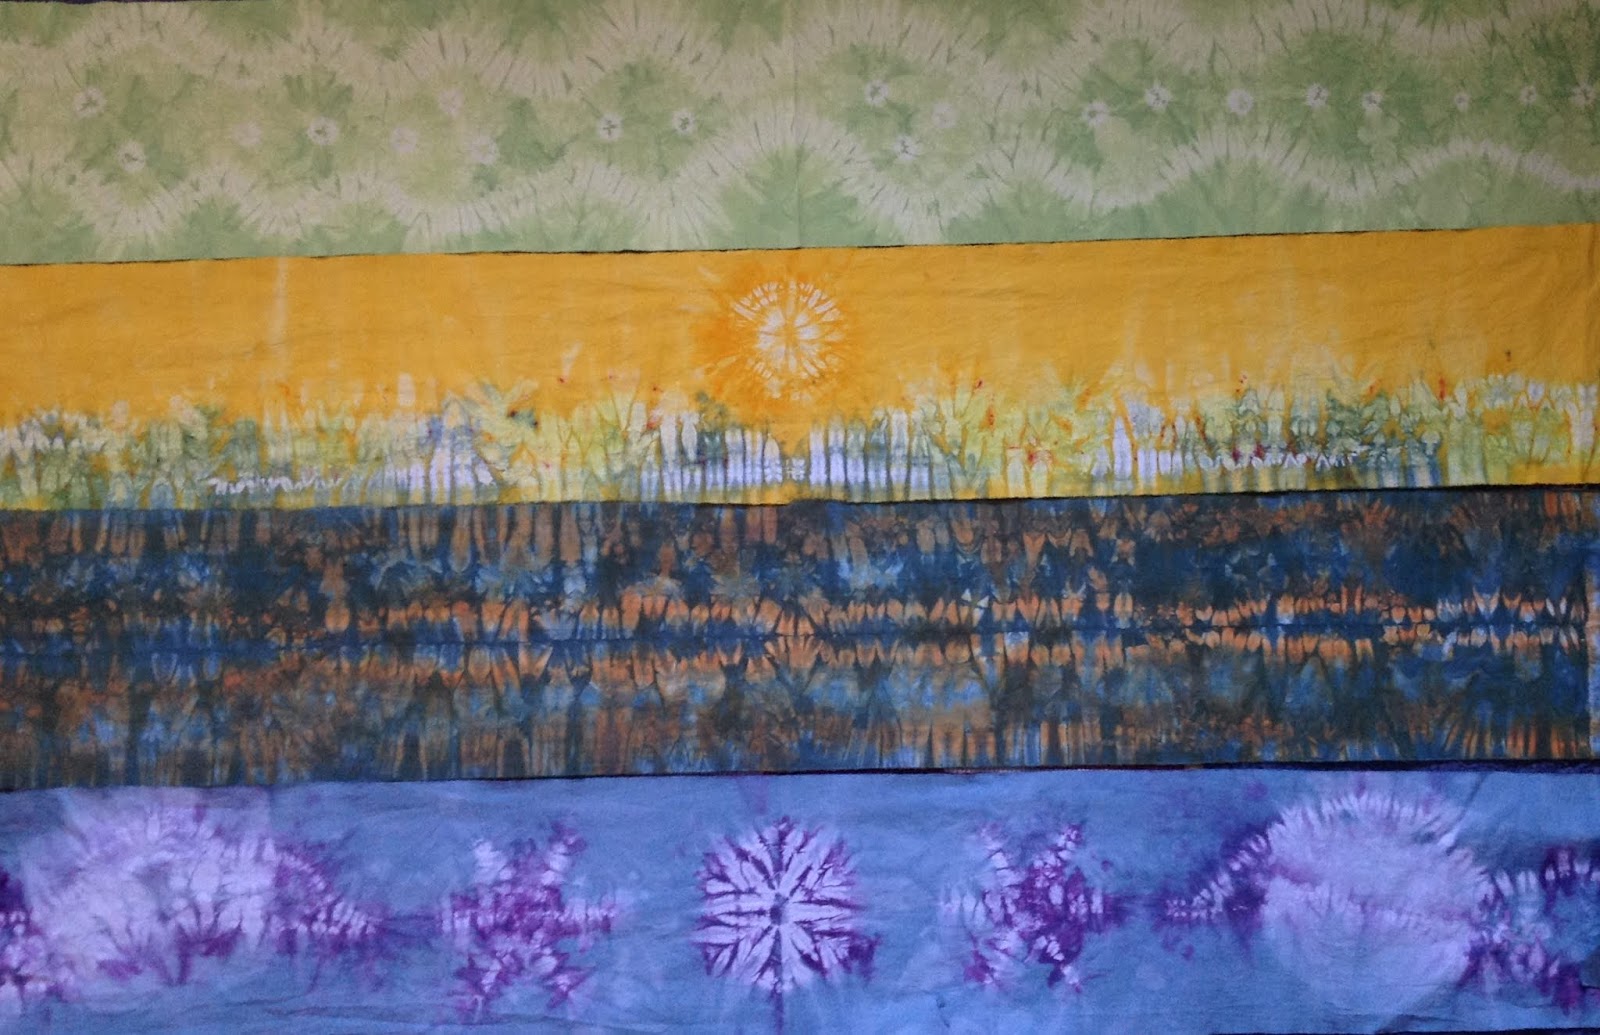
I have been doing a year's course with Christine in Studio 11 looking at colour: how colours react with each other; how to mix colours; tone, shade, saturation (intensity); all of those things that help one understand why colours do or don't work together and what their impact is on each other. It has been a very rewarding year. Our most recent exercise was looking at how mixing complimentary colours affects the saturation of the starting colour, using pre mixed liquid dye paints. I began with a vibrant green and used scarlet in various quantities to modify. It was intentionally rather unscientific, simply starting with a pure colour and mixing in small amounts of the complimentary to see where it went. We tried to keep all the mixes very close in tone, so the square looked homogenous, not entirely successful in my case as some are too dark. We created three 4x4 grids with our colour mixes, using the same pattern on each grid and leaving one square uncoloured. In this we painted a fully saturated, full strength patch of our starting colour, a much paler version of this and a full strength patch of the contrast colour. This gave us an idea of how the pure colours contrasted with those we had mixed; whether that contrast was harmonious, quiet or dynamic. 

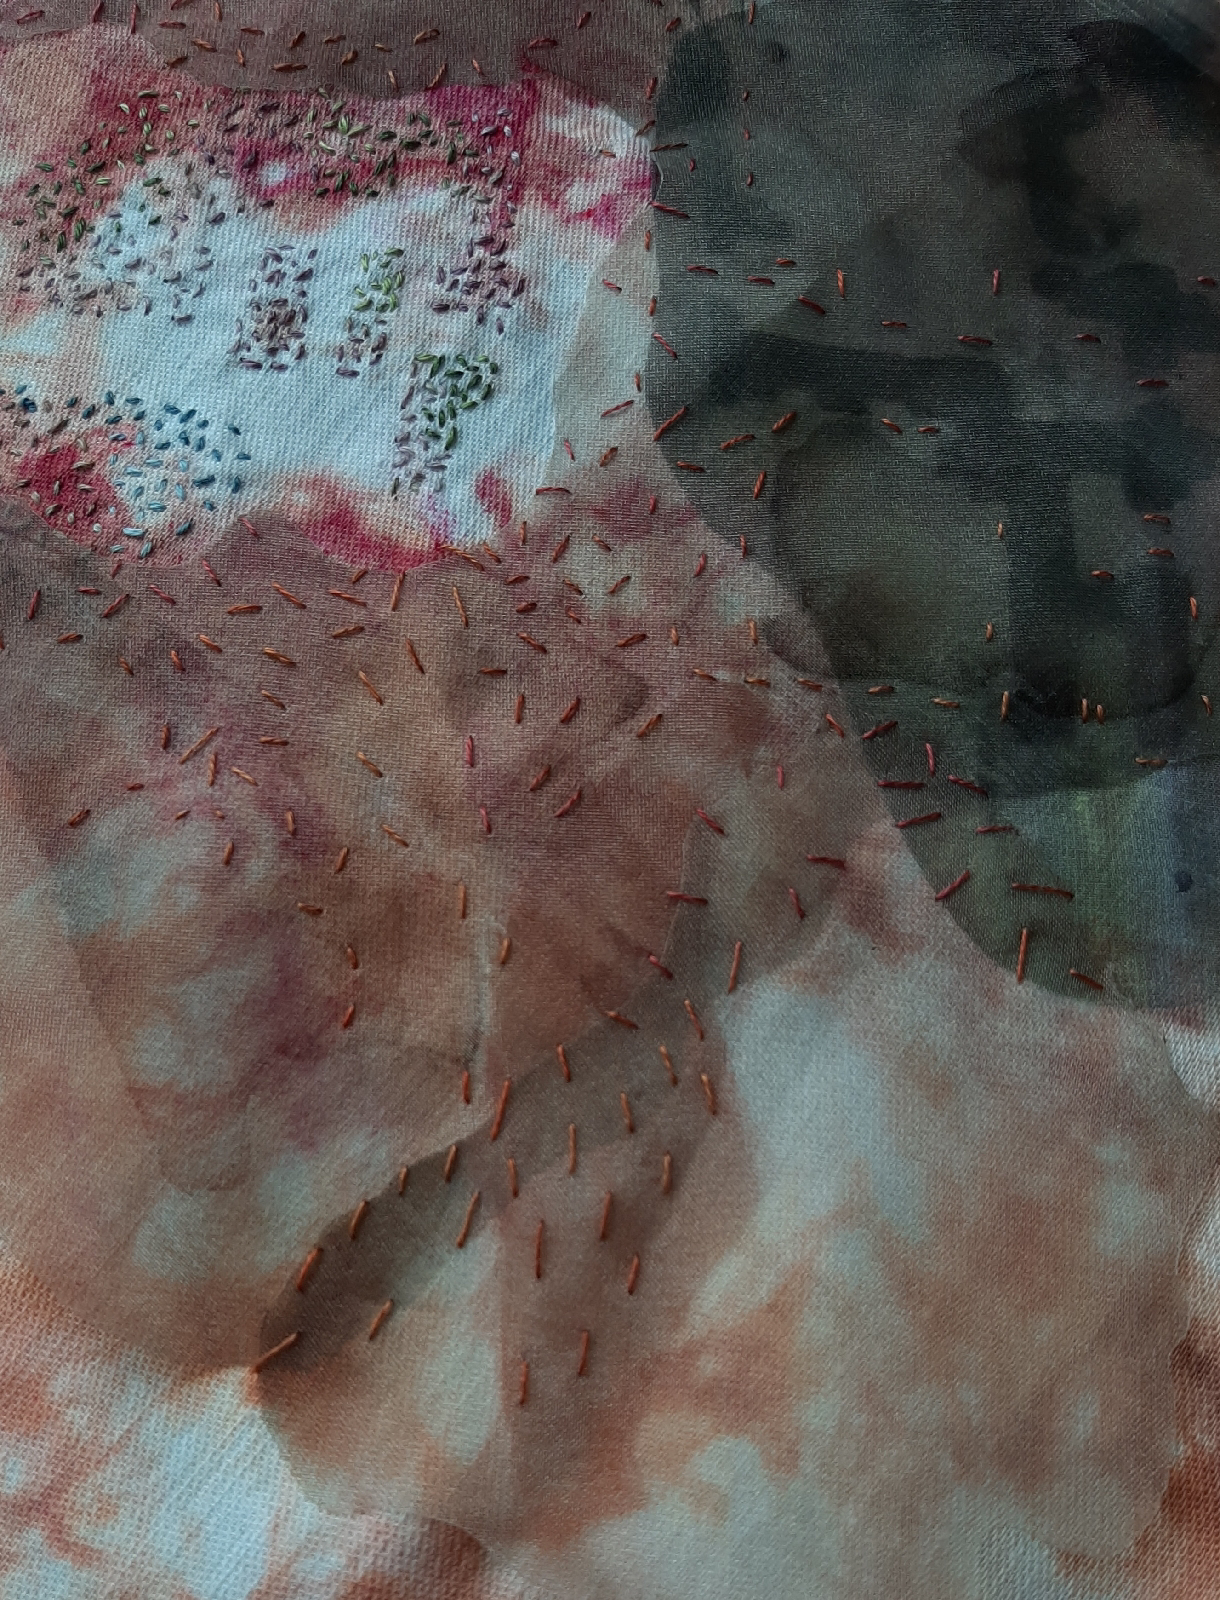
A cool green modified with warm scarlet

Since then, I have been doing more experiments with this idea; creating greens with the warm and cool blues and yellows (royal blue/golden yellow and turquoise/acid yellow), then modifying these with warm (scarlet) and cool (magenta) reds. The warmer blue and yellow make a pretty muddy looking green, almost brown before one even starts, so there is much more brown in the top two sets, mixed with scarlet (warmest) and magenta. The cool blue and cool red sends the blends a little bit more towards grey (third mix down), a devilishly elusive colour to find. Every painted square taught me a little bit more.


Then I got into "titrating" experimentation mode. I have a wonderful little set of measuring spoons, which give me a dash, a pinch and a smidgen; respectively 1/8, 1/16 and 1/32 of a teaspoon each: brilliant for measuring out small portions of dye powder when mixing up dyes. I used the smidgen and spooned out tiny quantities of liquid dye into a mixing pot, so I knew what proportions of primaries I was mixing to get the tertiary colours


First the greens, using turquoise, royal, acid and golden. You can see the proportions carefully recorded so I know what I did in future.


Then purples


and finally the oranges


So I now have a wonderful rainbow of colours to give me at least some idea how those dyes will mix with each other. The process is, of course, dependent on my always mixing up the pure dyes with the same proportion of dye powder to liquid, but this is a pretty good guide to how they all work together, and gives me huge pleasure too. I shall take it along to my next Studio 11 class to get Christine's comments about the primary colours and what proportion of dye to liquid she uses for each. Different colours tend to be more or less dominant, so one has to adjust one's teaspoons (or smidgens) to suit.


All this mixing was, of course, much helped by music, in this case several playlists of early music and folk, set to shuffle on the iPad, singing out through my Bluetooth speaker, so I could listen for as long as the process took.


Having my converted garage space for these experiments is an enormous boon and one I am endlessly grateful for.

Thursday, 8 October 2020

sampling

Although no stitching was done while away, since coming home I have spent some time with my Mesopotamia layered piece, this time a proper sample. Christine's advice was to pin the layers together, rather than tacking, as with every stitch you make, the organza and the layer(s) below make a little adjustment with each other. Pins can be moved to accommodate this. It was very fine advice.

So here: the base of hand dyed fabric, with its layer of marks; a layer of poly organza coloured with walnut and India ink if I remember; a snippet of the paper laminated piece with more floor plan imagery and a layer of seed stitch suggesting another building.


The next layer of seeding, at larger scale, with a thread which matches the colours on the fabric, both responds to what is below, and secures the coloured organza


Here using Emily Jo Gibbs' technique of stitching around the edge of the layer below 


finding shadows of floor plans, hidden beneath, or impromptu patterns from the combined layers.


Here stitching moves away from the absolute randomness of seeding, responding to what lies beneath, just as archaeology does, searching for treasure 

Sampling really does allow for experiment and experiencing the way the layers interact, how stitching can bring to the surface what lies below. 

My larger piece has more detail, though the seeding needs to extend further around the remains; I like the way they flicker in and out, depending on the colour in the hand dyed fabric below.


Once the sampling is done, I can think more clearly about how to develop this further. For now it is good to just consider

Wednesday, 23 September 2020

auditioning layers

These pictures are of a test piece, a sample, much recommended by Christine to try things out. So here I am trying out layering the organza again, having cut it with the soldering iron to get a shape which wraps round the existing stitching, as though an archaeological dig were being revealed; playing too with the layers of marks.


I also wanted to see what happens if a darker fragment is layered below. Here the shapes from a portion of the paper lamination I did using the floor plan stencil, on already darkened transparent. I have aligned the "walls" with the voided shapes already there.


There will be at least one more layer over this, but first the stitching to secure this layer. Already I can see that the thread I have been using just won’t to. It works to pick out the voided shapes because it contrasts with the underlying colour of the fabric. But if subsequent stitch layers are to work, I think the thread needs to tone with this colour. All quite experimental for me, I am still thinking my way through the stitching, at a larger scale than the first seeding, but of a similar ilk I think.

Today’s musical companions were the Bénédictines du Sacré Coeur de Montmartre.

Tuesday, 18 August 2020

Assemblage

I very often have Mesopotamia in the back of my mind when exploring with Studio 11 experiments - currently in how transparent fabrics can ben coloured and the potential they hold. 

An assemblage is a group of objects brought together from a site which typify that site, or a particular period

This is an assemblage of things old and new which may help me say something about Mesopotamia and history with textiles.

Most recently I created a stencil which which I used with a lamination technique to apply paper to some organza I had coloured as part  of the transparent experiments we have been doing. The stencil was based the floor plans of several of the temple layouts at Eridu, the oldest of cities according to the Sumerians, where sweet water was discovered, site of the Abzu. The transparent is laid over some hand dyed fabric from an earlier class I took with Christine, sort of desert’ish. Though now I wonder if I should try something blue beneath it, for water. And whether I might not cut it up and use parts of it in different things, rather than as one piece.


The stenciling process - cutting out shapes from freezer paper and then ironing that paper onto the silk screen, has created all these negative shapes, which I shall keep and try to use in some other context.

I have been thinking about what skills were key to the development of civilisation in Mesopotamia, and one, of course, is weaving, without which we have neither baskets, nor linen shifts, nor tapestries. So I have been experimenting with the cordage technique, learnt on and Alice Fox workshop at Studio 11 using  grass from the  garden, fibres from yucca and phormium (New Zealand Flax), and some wool roving I bought, to create “thread” of sorts. The blue is the roving, twisted during a recent Studio 11 zoom session.

I like the way the colours work with this fabric, but the “thread” might also be useful with some of the other recent transparents experiments. Or perhaps I'll twist some more

The fabric is, again from an early workshop, using the wax resist technique to evoke the sort of patterns one finds in for example, pottery with scratched patterns, of rock carvings. Here assembled, to see how they might mingle with some linen thread I bought from “somewhere”. 

And here, another assembled group of transparents - fine voile coloured with acrylic inks, walnut ink and rust dyed  


They seem to fit together rather well


I at last have a stool workshop, so I can sit at my bench with music playing - Heligoland in this case (Massive Attack one day Pergolesi the next!) - look at the anemones by the fence, and muse. It is a great pleasure. I am tucked away down the side of the house, and have to duck past the well to get here. It somehow feels appropriate


Monday, 13 April 2020

Corona creativity

Because we are unable to gather at Studio 11 for our monthly creative delights with Christine, she has, in her usual undefeatable resilience, put together an online course for those of us who want to continue exploring cloth and stitch. Her suggestion was that we work on the theme uppermost in our minds at the moment which is, of course Covid-19.

What an unprecedented experience for all of us, both close and far - something which will probably redefine "normal" for most of us once we have got beyond this stage of lockdown For us, me and my dear man, life is in many ways unchanged, we are both retired, but the loss of weekly markers, Bridge for him, various things for me, lends a sense of timelessness to days, a stasis which is quite hard to rise above.

The garden has provided a retreat and sanctuary space for both of us, and as I have sat out there I have been much more mindful of my surroundings. The extra level of hush brings birdsong to the fore; an aircraft passing above is something to remark on, rather than ignore; the textures of things around me, visual textures and sounds, are things to focus on and enjoy. So, I spent some time taking rubbings of things, first on paper with a simple wax crayon - some came I was very happy with,


So focusing on those I liked, I took some cotton out into the garden to collect again, this time with candle wax. The marks are there, but could be more definite, what you can't see here are the lovely contact marks the dye made on the back of the cloth. I will add more marks, and more colour, and see where we get. Had I thought, I could have left the first layer of wax on, taken a second layer of marks and then added colour, but I was too hasty with wanting to see what it looked like so it has all been washed away. I will do my best to overlap the rubbings so I retain some of those white marks


The other thing we did was to look at the imagery attached to the virus, drawing it in various different ways. I played with stitching and clamping, linen and ramie, to see what shibori methods could do to evoke that spiky ball - lots to think about here, and to play with some more


Sunday, 8 March 2020

dyeing thread

Is not the same as dyeing fabric as I am discovering. Lovely daughter bought some yarn, bamboo and linen, very cheap, in white, for dying. And so, an experiment.

The first test wraps were bound with elastic bands and included some fine crochet cotton as well. So a small bundle, with all three types of thread, band wrapped, soda soaked, left to dry, dipped in dye and left to dry again


clear white divisions with some shading

After dyeing they were variously woven - this a test for something else, used to demo the dyed thread

And  crocheted to see how the effect translated, bamboo first then linen.

The second batch has yet to dry, bound with strips from plastic bags - unecological raffia. This is how ikat warps are tied prior to dyeing, but obviously with much more skill, planning and understanding than my efforts

They werent as effective at keeping out the dye, but have resulted in some interesting shading and some broader white spaces. The next step might be to re bind leaving some of the white unbound, then add a third colour, blending into some of the blue and petrol green but finding some of the white for the pure tone.

 Now where's that crochet hook?

Wednesday, 3 July 2019

Dye and stitch and sometimes both

So a little free time focus and some fun with the dyepot. These below a set of fabrics variously manipulated in shibori fashion, stitched, pleated, folded, bound, crumpled.


Dyed with synthetic indigo, flushed through with a wash of petrol green towards the end - I enjoy playing with the parameters of what and when. The colours not quite right here, but you get the idea.


Then in a plastic tray, this scrumptious srcumpledness. Again, shibori stitched, dyed bright yellow a few days ago, then extra colour flooded in as a second process


And here it is unwrapped and blended together with three other bits of cloth from those long ago sheets. Some of my experiments in my first year or two with Christine top and third, second and fourth dyed very recently to complement. I intend spreading them out a bit onto a backcloth so each can have its own voice, but still be part of a whole


And the cities begin to grow in Mesopotamia - 


Assur, capital of the Assyrian Empire the latest to manifest as we flow down the Tigris, Dur Sharrukin, Nineveh and Nimrud nestled in the confluence of the Greater Zab and the Tigris


Thursday, 27 April 2017

Holiday dyeing

I've been doing some holiday dyeing - which of course means the laundry and houswork are way overdue! I had some left over dye from a previous experiment, and wanted to see if it really was spent. So, a torn off bit of one of the endless "Connie and Harry sheets", soda soaked, folded and wrapped, the dye applied from the bottles it has been sitting in since I last used it - it all looked rather promising; lovely vivid shades, couldn't wait to unwrap


However, the dye really was spent, and most of it washed out - very pretty, but definitely not vivid; more delicately faded.


Christine's mantra is, "you can always stick it in a bucket of black" so, treating this as a test piece, out came the plumbers pipe and string and a bit of "sort of" arashi shibori. I'm not sure if I can really call it this, since arashi normally involves wrapping the fabric diagonally along the length of the pole. In this case I've placed it so the centre of the piece is over the end of the pole, folded it carefully down the sides, then spiral bound with thread. Into the dye vat it went - a mixture of turquiose, a touch of royal blue and black. I had hoped that the plastic bag on the end, firmly tied and elastic banded, would work as a cap to preserve the yellow centre but I may not have tied it tightly enough because the dye managed to soak through.


This is where I got to with stage two - notice how much more of the first layer of colour washed out with this second process. An interesting pattern though, and I'm learning all the time, but the delicacy of the inital image has been lost, both because of the first colour fading and because the second process has produced a much more definite pattern


I thought this looked a bit neither one thing or the other, in fact, a bit "meh" as my daughter would say so, back in the soda solution and on to stage three, and a stage one for a second piece of sheet - just to use up the second batch of dye


Refolded and bound in a similar way to the first process but this time with elastic bands rather than thread - they were harder to tie tightly, but I'm a bit wary of elastic bands!! Again, Christine's advice is; for multiple layers, using the same or a similar process allows the layers of colour to have some relationship with each other.


And the second piece of cotton, pulled out along its diagonal from corner to corner, roughly pleated and bound with thread, closely, criss crossed and more loosely as I worked along the length.


More dye applied, this time freshly brewed - and then the wait .....


Well, vivid has returned, and I think has integrated the arashi pattern better, it has more balance now - and the second piece makes me think of summer sunbursts and ice cream - I rather like it, and can see where the binding, tight or loose, has affected the pattern of the dye - more white where it was tightly bound - more learning


but what on earth to do with them both now?


I'm off to Studio11 tomorrow, so a bit of show and tell discussion might help.