Friday, 21 February 2014

So here's the plan

This is a design from the work I did in the summer on insects


based on a photograph taken years ago of a dragonfly casualty - blame the cats


and some fabrics dyed at Studio11 on the day we spent with Christine as part of City and Guilds


one watery and flowing, to evoke the nymph stage of the dragonfly's life, one crumple dyed with evocative shapes lurking in the random patterns. Beneath, a teal cotton velvet, garnered from curtain shop remnants, to provide practical strength for ... a sketcher's bag to hold sketchbook, pencil case, camera and water bottle


I'll create a front panel using the water ripple fabric with organza layered over and stitched into with the dragonfly wing pattern in couched and linear stitches. I'm also thinking of using wave stitch in the finely patterned areas to emulate, but not copy the cell structure. Then I'd do the rear panel using the crumple dyed fabric and hand quilt over those lines that evoke a wing shape.


The strap will go across my body and will be the velvet on the underside and a strip of the ripple fabric on the top to tie in with the embroidered panels.

I'll probably adapt the image below to a design like the one above, as it's more graphic and has a clearer reference to the actual wing shape - here played with in Picasa


Are you getting the idea?

Monday, 17 February 2014

Stitching a Galaxy

I'm making a start on one of the pieces I dyed recently at Studio 11. It's sort of a practice for something else - a Winter Solstice cloth - but I want to find out how the stitching will work on this piece first; trial techniques, see what the needle feels like moving though the three layers of cloth. The middle layer is a dark blue linen, not the dull browny colour you can see at the right. It has a lovely drape and texture, then there's muslin at the bottom to anchor stitches in. The top is a piece I dyed using shibori techniques - a process I could get very addicted to! I'm just tacking the three lays together at the moment and plan to extend the stitching into the border so have left plenty of edge for that.


And before I forget - here is the second white work piece for City and Guilds. I love the strong shadows the trailing border gives, and the light and shade where the stitches run in different directions, which doesn't show up too well here.  I'm still debating whether to redo those rectangles at the side with their wobbly bars and uneven division!

Sunday, 16 February 2014

William Henry Margetson

Well, I said I'd update you on this but it's taken a long time!


I finally found my Pandora picture by dragging the image into Google Image search. This dainty little soul is from a painting by William Henry Margetson. The print is on silk and I've found a couple of sites with her for sale, but there isn't much about this particular painting. Called variously The Iron Chest and Girl With a Treasure Chest it was painted in 1924. Oxford Art Online gives the artist a scant few sentences, but tells me that he lived from 1861-1940. There is however a brief blog post here which has a good range of his images, all of a similar style. There are also collections of his work on Pinterest. It looks as though he was a populist painter of delicate ladies in various situations, but also did a number of illustrations for fairy tales, poetry, biblical stories and adventures with delightful titles like "The Tyger of Mysore" or "With Cochrane the Dauntless".  He seems to be a rather derivative artist, I can see parallels with a range of painters from Waterhouse to Kroyer, perhaps the reason Oxford are a bit sniffy about him!

I still think she's lovely, even if she isn't Pandora!

Thursday, 13 February 2014

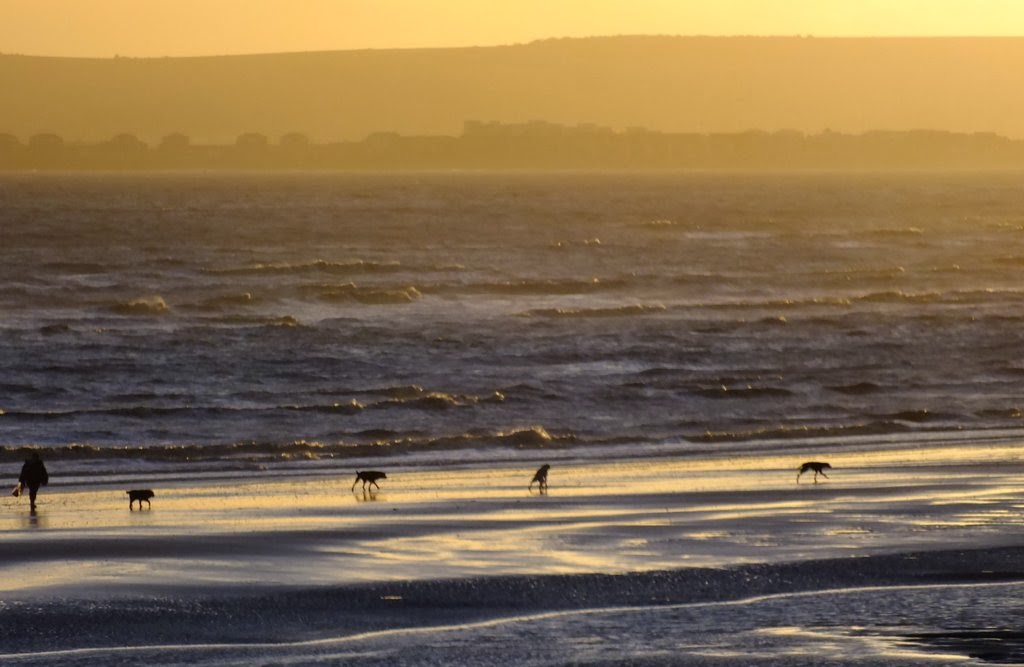
walking along the littoral

I never tire of this space, it always gives me something

 a pebble, cradled in storm shattered wood
 reflections
  and ripples of light
Beachy Head, always there anchoring the horizon
 dogs frisking on the shoreline
 pale moon
netted by branches as I wend my way home

Friday, 7 February 2014

Pure Indulgence

Along with lovely fabrics and threads, my big weakness, in fact probably my biggest, is for books, especially books on .... lovely fabrics and threads. I was (dangerously) bumbling about Amazon -  looking for something else entirely, when this appeared before me. How could I resist? Arts and Crafts has always been a favourite style of mine, having been in love with the Pre-Raphaelites in my teenage years and early twenties. William Morris is one of my all time heroes and of course, he was at the root of the Arts and Crafts movement, along with a number of other great craftsmen and artists. I haven't allowed myself to dip into this too much yet, there are too many other things that need my attention, and still too little time to give them. 


I also picked up a reprint of May Morris's Decorative Needlework. She was one of William and Jane's two daughters and influential in both embroidery and design, as well as being a champion of practical education for women to enable them to earn a living.   The V&A holds examples of her work, which you can see here, there is a delightfully colourful brief biography of her here and an article about her embroidery on the marvelous Textile Blog here.

But back to my own embroidery efforts for City and Guilds. Things are happening -  albeit more slowly than I'd like. Here is one of my "holes" samplers -  finished, though not properly pressed or anything, but I'm really happy with the way it's gone


and here is the next one, still in progress. The one above uses simple satin stitch and overcasting to finish the edges of the holes. The next piece has buttonhole stitch round the larger openings and woven bars - those are the bits that stretch across the rectangular holes - the one on the right far too wobbly; it may have to be redone! Also a technique called trailing - like couching, but with the stitches placed so close together that they cover the thread being stitched down. It makes a rather nice definite frame at the top and will be mirrored at the bottom


The scariest bit with this technique is cutting the fabric away to make the holes. You can see this most clearly on the back, where the central square has the four sections folded under. I'm tacking them down before running buttonhole stitch around the edge, and plan to divide the square into four with two more woven bars, hopefully not wobbly ones.


Once the stitching is finished I'll tidy up the back by very carefully snipping away the little points of fabric. City and Guilds insists on good quality finishing!

Thursday, 23 January 2014

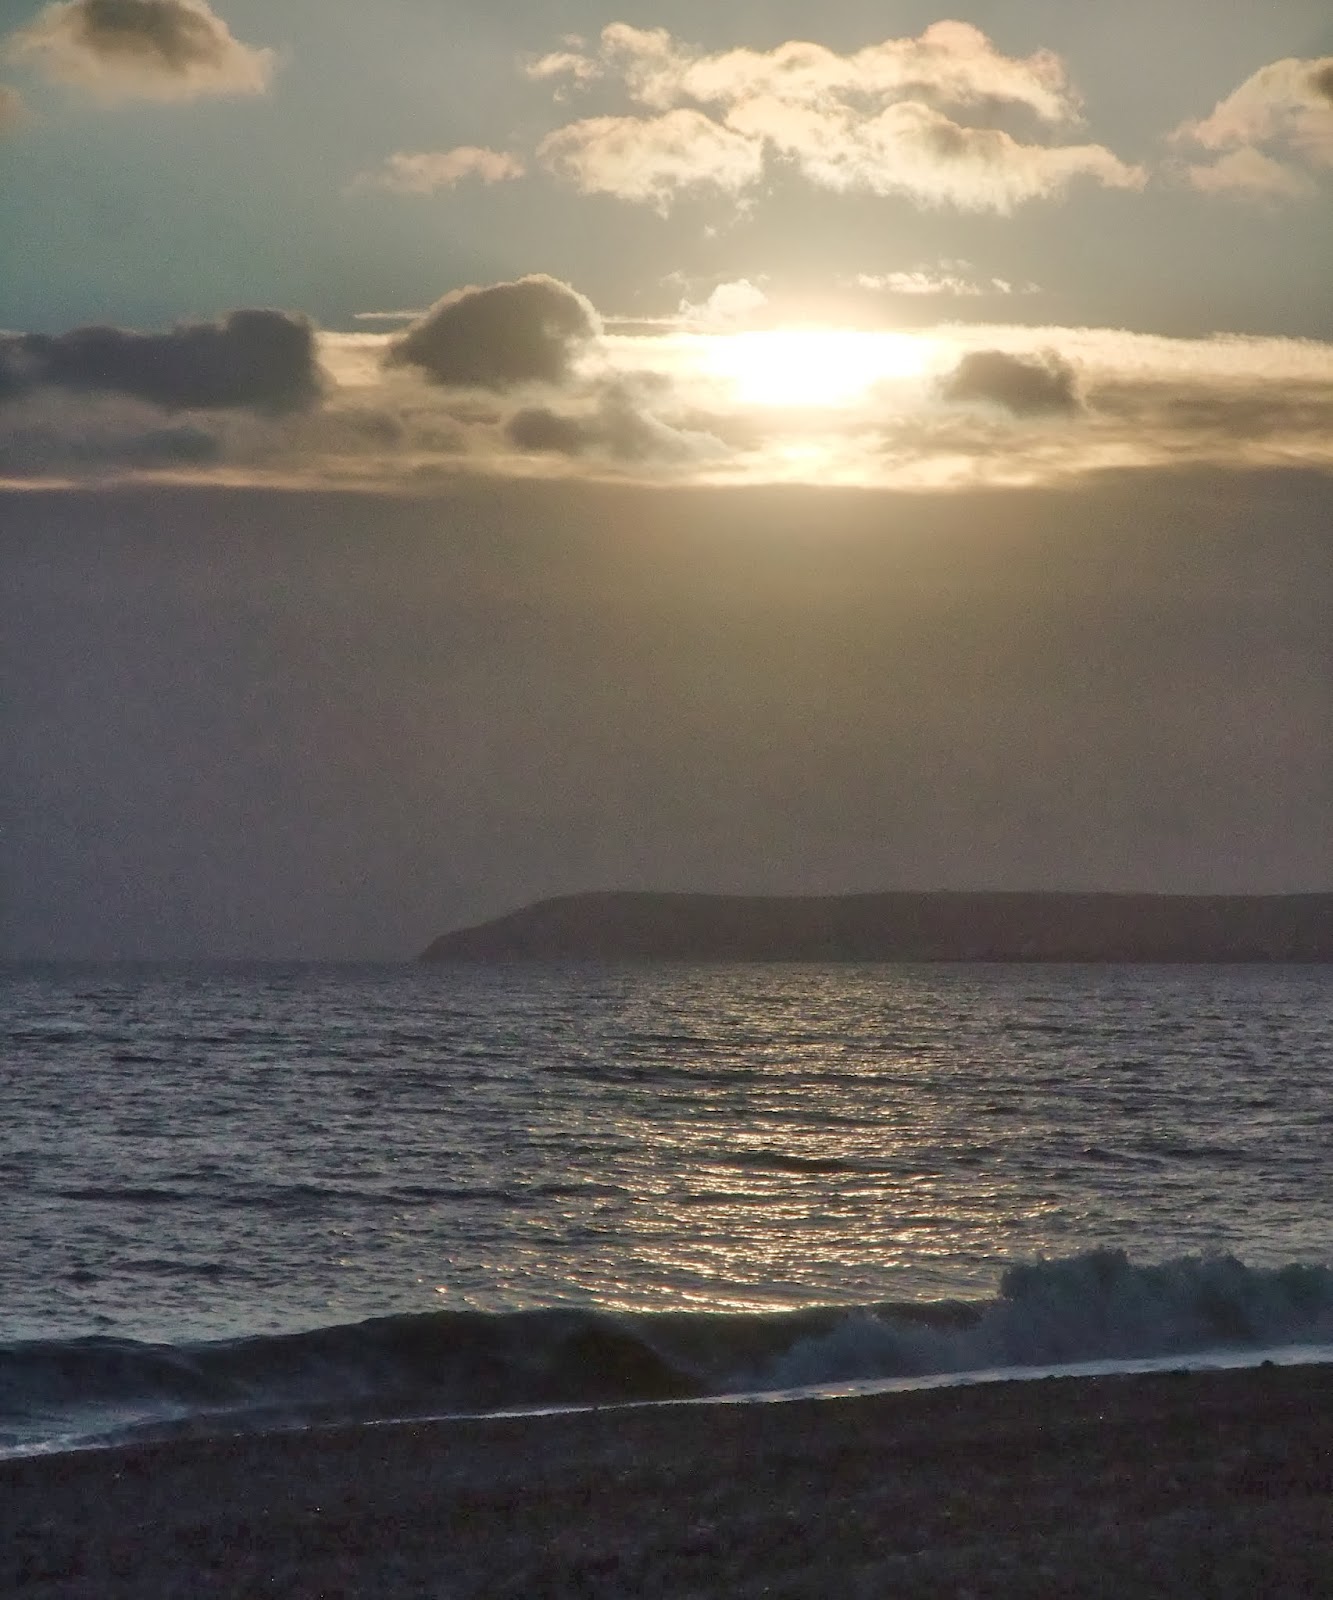
evening light


Work is just beginning to slow down a little and I am managing to get back to my "normal" hours. I'm also trying (for the umpteenth time) to walk down to the seaside at least every other day as the ceaseless rain is also beginning to slow and there is space in the day for walking. This view is my reward - well worth the effort.

When we moved here, just over three years ago, I couldn't walk down and back (only two miles) without stopping on the way up at least once to ease the pain in my legs and back, and catch my breath. Now I am glad to say there is no need to stop (sometimes) and the hurting is easing. This is not said to evoke sympathy - I've lived with chronic pain for most of my adult life, one way or another, and have no need (or desire) for sympathy - but it is good to know that even my poorly disciplined efforts to improve my fitness are bearing some fruit!

Monday, 13 January 2014

Making holes

Happy New Year to those of you who pop by from time to time. I'm sorry for my long absences, but work has been dominating my life for the last several months; so much so that I almost feel that I've lost myself. This week I'm trying to get back to some semblance of normality. 

I missed the last City and Guild tutorial of 2013, but managed to get to Saturday's and we were given a lesson in white work and cutwork. I'd done the latter before, with tuition from my beloved Ganna, but have never done white work. This little sample is really cheating, I've used a soft green thread rather than the traditional white, but it's coming along quite nicely I think. I designed the pattern on tracing paper, as I was intending to fold and trace from a section, but ended up doing the whole design so it's a little squonk. Then I used delicate dotted lines with a fine line pen to trace onto the fabric as it is slightly sheer. Now I'll try to complete it with some shapes done as holes and others with satin stitch. 

One of the things Barbara is constantly reminding us is to make sure to separate the strands of embroidery floss and recombine them, so that they lie flat as you stitch (and to constantly untwist the kinks). I'd never been told that before, but am really impressed with the difference it makes to the satin stitch - it catches the light so much better as the strands are smooth and lie in harmony with each other. The fabric is salvaged from Aunt Cecil's store as she isn't really able to concentrate enough to stitch any more, which is very sad for her.


Hope you like it so far.